
Rock-steady plans for every shoot
Solve the scene
before the crew arrives.
Diagram where the actors move and where the camera goes, work out what coverage each position actually gives you, and keep the blocking pinned beside the shot list.


Creatives working for these brands already got early access
- Red Bull
- Canon
- Artlist
- Porsche
See how easy it is to get started
Watch a real project come together, from a blank board to a finished plan, clicked through step by step.
Start from a ready-made template
Pick a board to see what you can build, then let AI fill it in. Every template is a real, editable starting point on the same infinite canvas.

Pre-Production
Pull the brief, script, shot list, and moodboard into one pre-production hub so the whole shoot is planned in one place.
What is scene blocking?
Scene blocking is deciding where people stand, where they move, and where the camera sits to watch them. Storyflow is an AI visual workspace that lets you block each scene before the shoot on one infinite canvas: actor and camera moves drawn over the real recce photo, the coverage listed beside each position, and the blocking kept beside the shot list. Blocking is the first thing that happens on set and the thing most often left until then, which is why so many shoot days lose their first hour to a conversation that could have happened in prep. Blocking is not choreography for its own sake: every position is an argument about what the audience should be looking at and how close they should feel to it.
The reason blocking rewards planning is that it determines your coverage, and coverage determines your schedule. Where the camera sits decides which actors are in frame, which means it decides how many setups the scene needs, which means it decides how long the scene takes to shoot. A scene blocked so that two characters are never in frame together needs twice the setups of one blocked so they share the frame. That is a scheduling consequence arrived at through a creative decision, and you want to notice it in prep rather than at eleven in the morning.
Storyflow is an AI-native infinite canvas that suits this because blocking is fundamentally spatial. Draw the overhead diagram with the pen tool, mark actor positions and their movement, place camera positions around them, and put the shots you get from each position on cards right beside the diagram. Because the canvas holds images, you can drop the location recce photo underneath the diagram so the blocking is drawn against the real room rather than an imagined one.
Useful blocking planning resolves four things together. Movement is where the actors go and, more importantly, why: a move should be motivated by what the character wants rather than by a wish to make the shot interesting. Camera position is where you watch from, including whether you are inside the scene or observing it, which is a tonal decision as much as a technical one. Coverage is the set of shots each camera position yields and whether they will actually cut together. And the line is the axis you establish between characters, since crossing it without a deliberate reason is the fastest way to disorient an audience, and it is far easier to check on a diagram than in the room.
Ultra fast from brief to board
From a scene on the page to a plan for the floor.
Draw the space, place the people, then work out what the camera sees.
01
Open a canvas
Sign up in seconds. No download. Your infinite planning canvas opens straight in the browser.
02
Draw the space
Sketch an overhead of the location with the pen tool, or drop the recce photo or floor plan on the board and draw over it so you are blocking against the real room.
03
Place actors and camera
Mark where each character starts, where they move to, and why. Then place camera positions around them and draw the line between your principals so you can see which side you are working from.
04
List the coverage
Put the shots each camera position yields on cards beside the diagram, then share a view-only link with your DP and first AD or export as a PDF for the day.
The diagram and the shot list side by side.
Blocking drawn over the real location, with coverage listed next to each camera position.
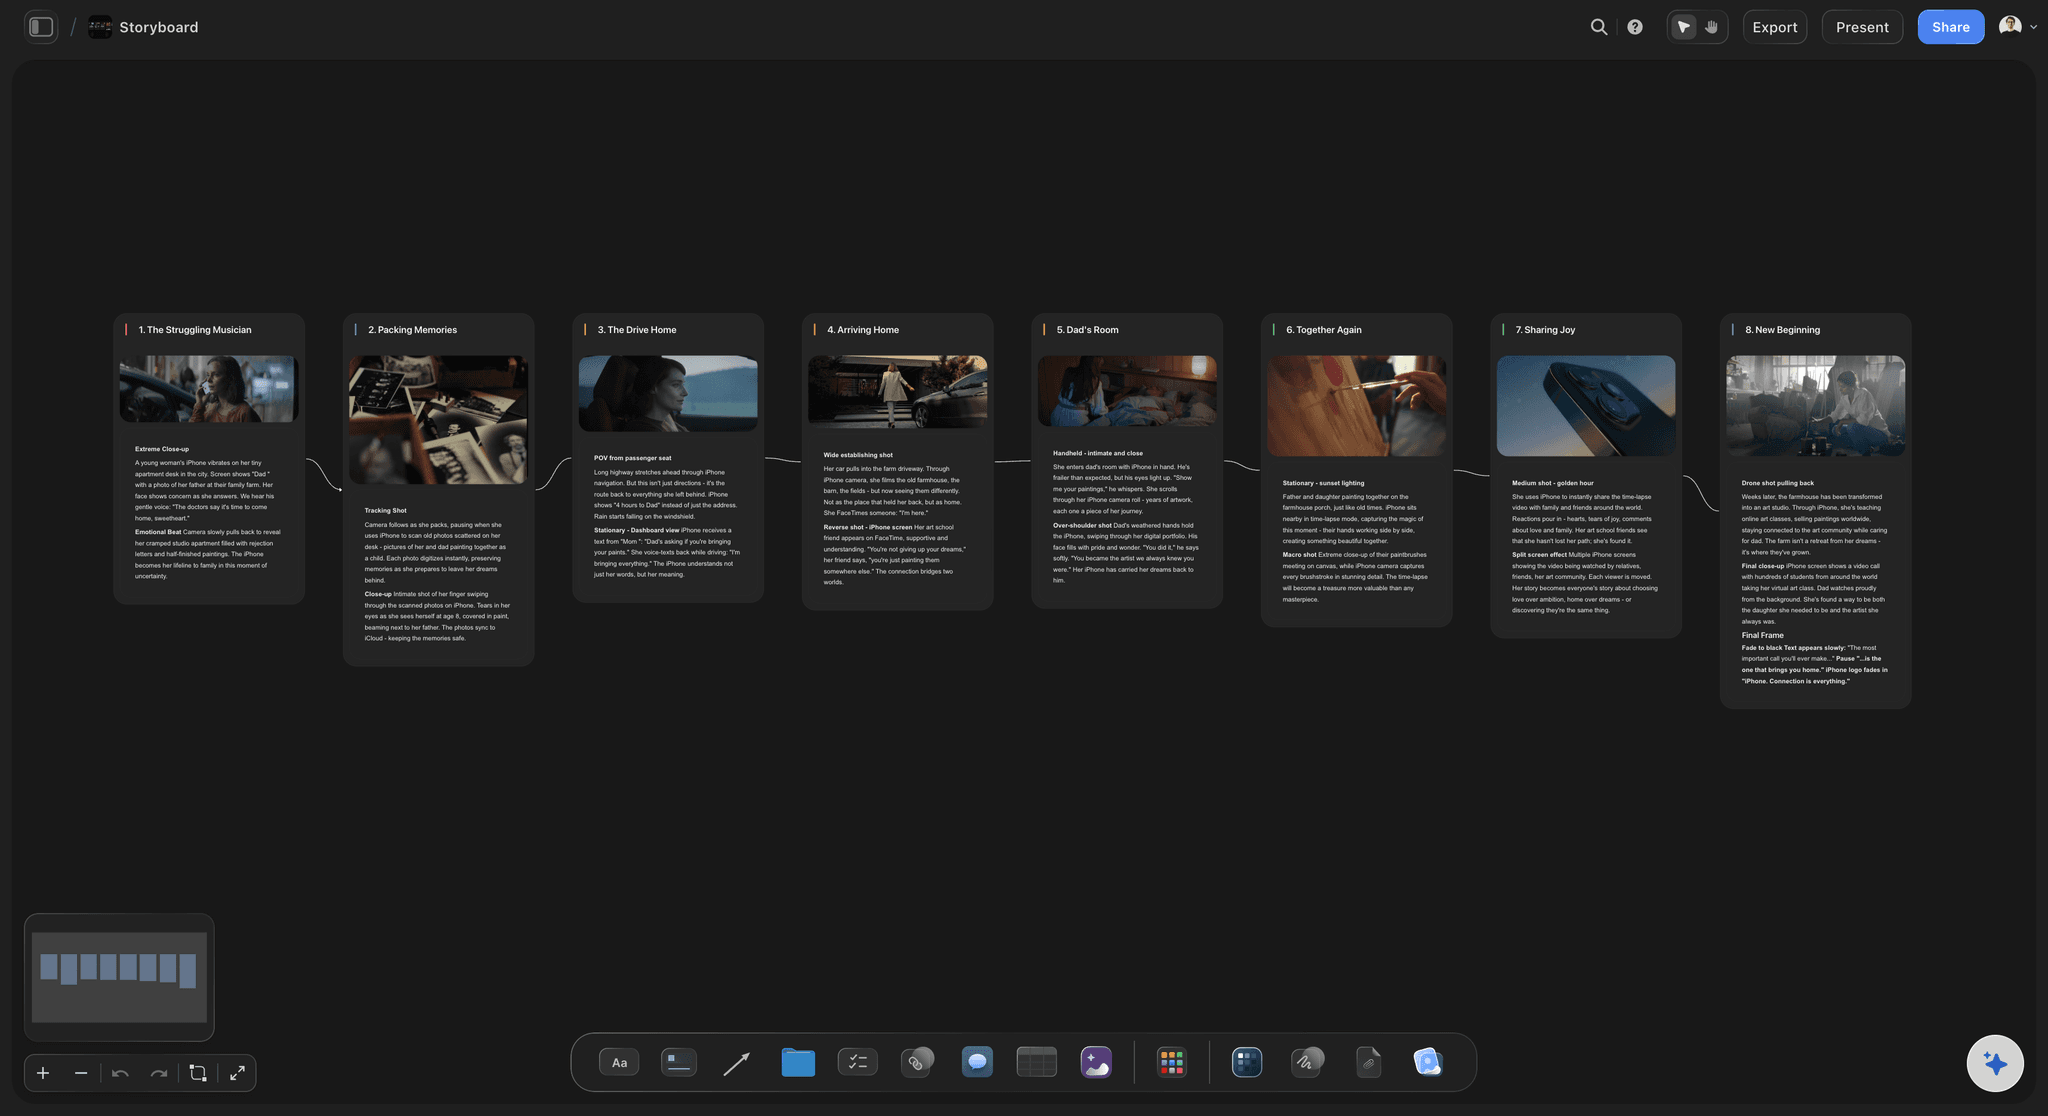
Draw overhead diagrams with the pen tool
Sketch the staging by hand
Blocking is spatial thinking and wants to be drawn rather than written. Use the pen tool to sketch the room, the moves, and the camera positions the way you would on paper, with none of the paper.
See the free infinite canvas →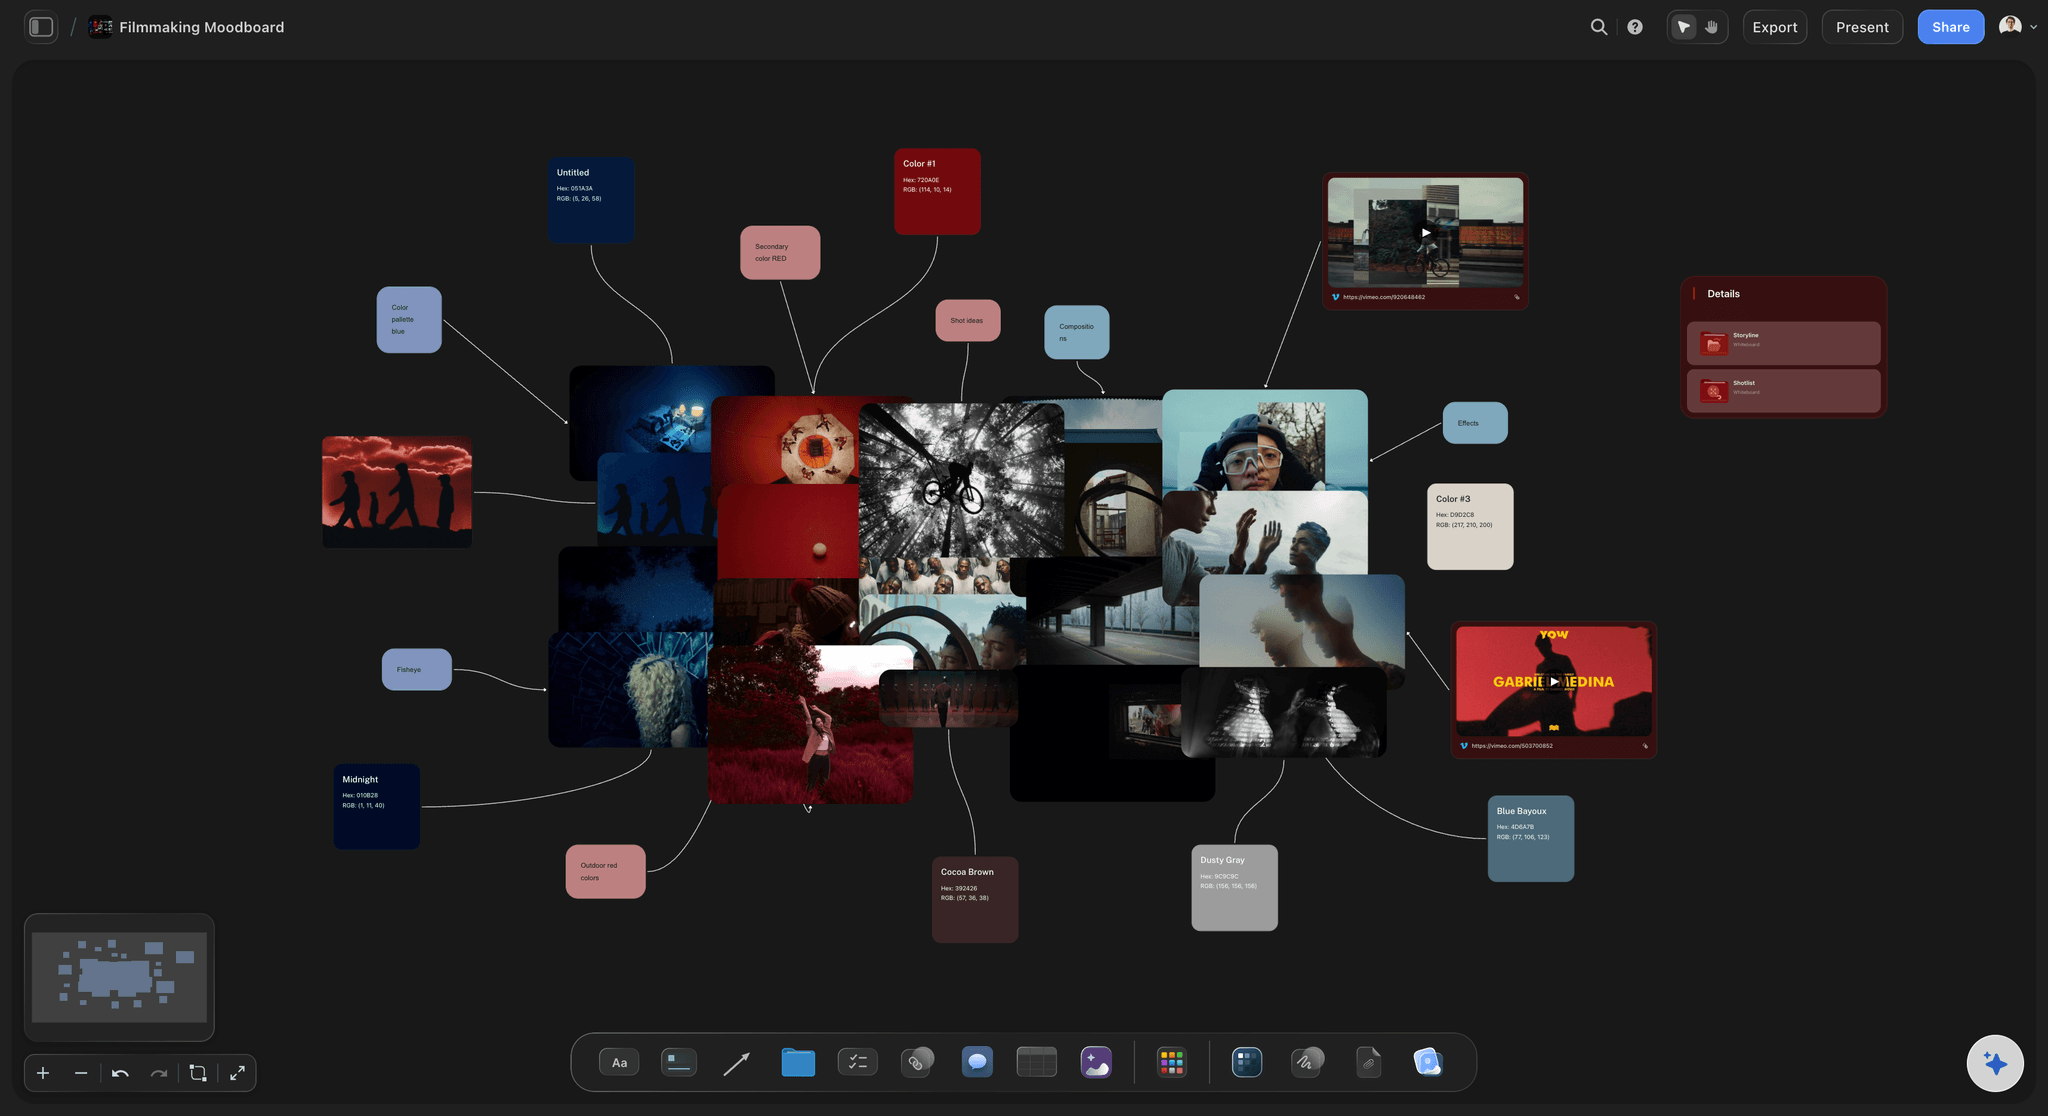
Draw over the actual recce photo or floor plan
Block against the real room
Drop the location photo or floor plan onto the board and draw the blocking over it. A move that works in an imagined space frequently does not survive contact with the actual doorway.
See the location scouting app →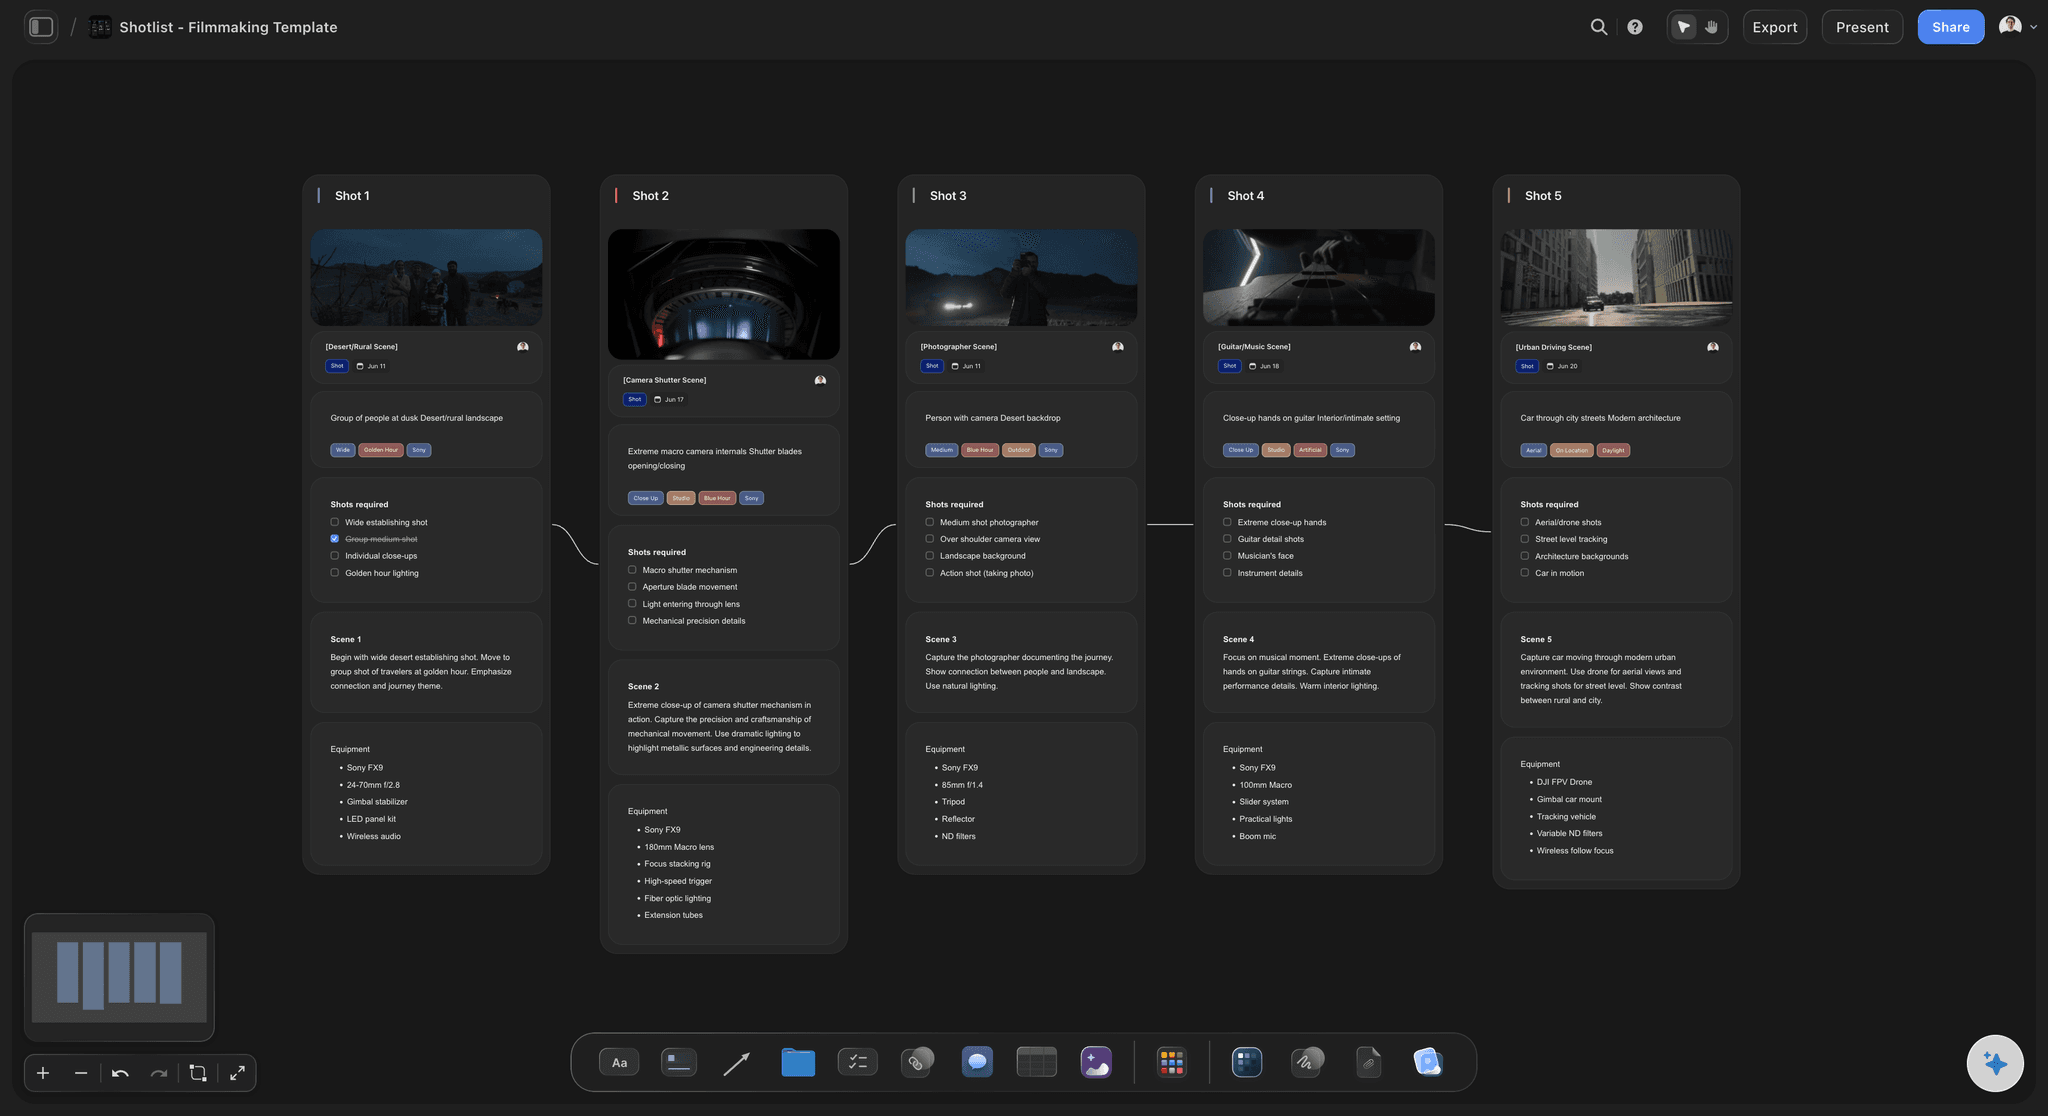
Coverage listed per camera position
See what each setup actually buys you
Put the shots you get from each camera position on cards beside the diagram. Counting setups on the diagram is how you discover that your blocking has quietly turned a four setup scene into a nine setup one.
See the shot list generator →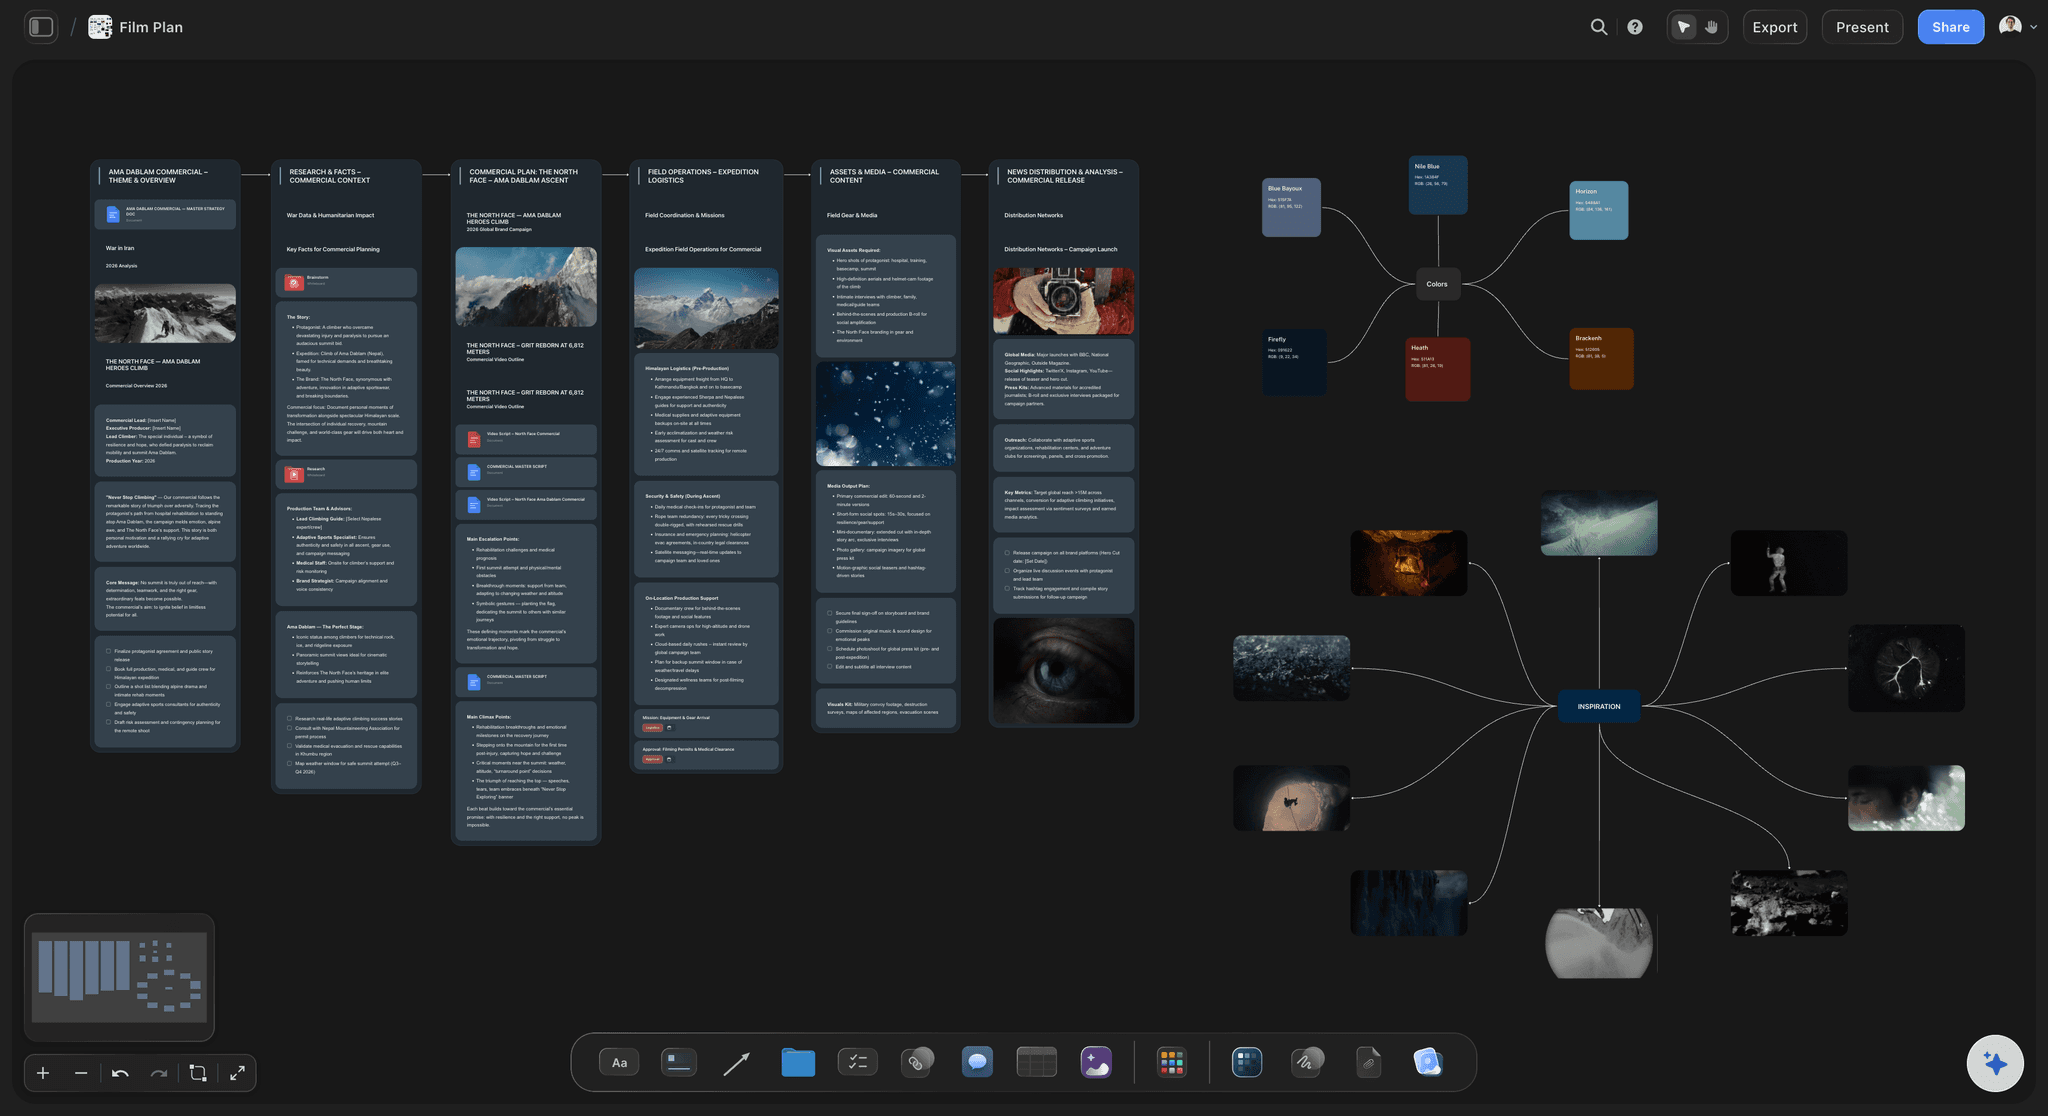
Blocking beside the schedule and the continuity notes
Keep it with the rest of the shoot
Blocking that lives beside the schedule shows you its cost in time. Blocking that lives beside the continuity notes shows you which side of the line you were on last time you shot this space.
See the film shoot planner →Unlimited boards. No object cap.
Open a canvas, draw the space, and block the scene. Storyflow is paid-only during early access, with plans from $9.99 a month, and a Free plan launches before the end of 2026.
Unlimited blocking boards on an infinite canvas
Pen tool for sketching diagrams by hand
Basic AI usage to generate boards from prompts
Share view-only links with your DP and crew
Built for people with taste
More than an arrow on a script page.
Blocking decides your coverage, and coverage decides your day. Both are worth seeing in advance.
Movement, camera position, coverage, and the line
Work through every layer of the blocking
Motivate every move: A character should move because they want something, not because the scene felt static. Blocking invented to add visual interest reads as blocking, and actors find unmotivated moves very hard to play convincingly.
Decide where the audience stands: Camera position is a tonal choice before it is a technical one. Watching from inside a group feels different from observing it from the doorway, and that decision should be made deliberately rather than arrived at by where the tripod fits.
Count the setups your blocking implies: Every camera position is time. Blocking that keeps two characters apart doubles your coverage, and noticing that on a diagram in prep is how you avoid discovering it when you are already behind.
Draw the line and check it: Mark the axis between your principals and keep your camera positions on one side of it unless you are crossing deliberately and with a move. This is much easier to verify on an overhead drawing than in a room full of people.
AI that can see the board you have already built
Structure the plan with AI, stage it yourself
Break the scene into beats first: Describe the scene and the AI lays out its beats as cards, which is the useful precursor to blocking because a move usually belongs at a beat change. It reads the active canvas as context.
It cannot stage a scene: The AI does not know your location, your actors, or what the scene is about, and staging is exactly the sort of judgment that depends on all three. It builds structure around your drawing; it does not do the drawing.
Draft the coverage list: Once positions are marked, ask it to draft the shot list each one implies. That is a genuinely tedious enumeration task and a reasonable thing to hand over, provided you check it.
Photos, floor plans, frames, and notes on one canvas
Block against what is actually there
Recce photos and floor plans: Drop the location photos and any floor plan onto the board and draw over them. Blocking done against a real room catches the pillar, the low ceiling, and the window you would have to shoot into.
Grab a frame from a reference: Pull a frame from a YouTube or Vimeo reference when you want to show the DP the kind of staging or lens you have in mind. A frame communicates a camera position far faster than a paragraph.
Notes on the diagram itself: Write the practical constraints where they will be read: the door that will not close, the reflection in the mirror, the neighbour's boiler that rules out sound at that end of the room.
Share with the DP, first AD, and cast
Arrive with the scene already solved
View-only links: Send a link and your DP and first AD see the blocking and the coverage before the day. Most of the first hour on set is a conversation that a shared diagram makes unnecessary.
Work it out together: Invite your DP onto the board so the blocking and the lighting plan are designed against each other rather than in sequence. Live multi-editor presence with cursors is on the Max plan.
Export for the floor: Export as an image or PDF to print for the day. A printed overhead in a director's back pocket remains one of the more useful objects on a set.
Explore templates for your project
Every template opens as a real, editable board on the infinite canvas. Pick the closest fit and make it your own.
Pre-Production
Pull the brief, script, shot list, and moodboard into one pre-production hub so the whole shoot is planned in one place.
One app instead of five
Storyflow vs paper, Shot Designer, and a 3D previz tool.
For accurate lens simulation a dedicated tool wins. Here is the honest split.
Storyflow
Recommended
Draw blocking over the real recce photo
Coverage listed beside each position
Sits beside your shot list and schedule
Accurate lens and field-of-view simulation
Animated camera moves and 3D previz
Share and work on it remotely
Paper
Draw blocking over the real recce photo
Coverage listed beside each position
Sits beside your shot list and schedule
Accurate lens and field-of-view simulation
Animated camera moves and 3D previz
Share and work on it remotely
Shot Designer
Draw blocking over the real recce photo
Coverage listed beside each position
Sits beside your shot list and schedule
Accurate lens and field-of-view simulation
Animated camera moves and 3D previz
Share and work on it remotely
3D previz
Draw blocking over the real recce photo
Coverage listed beside each position
Sits beside your shot list and schedule
Accurate lens and field-of-view simulation
Animated camera moves and 3D previz
Share and work on it remotely
What creators are saying
Join early creators getting structured workspaces and AI that remembers their projects
“Storyflow has sped up my workflow by at least 3x, which means more flow state and more projects I can actually ship. It truly changed the way me and my team create.”

Reilin Joey
Director & YouTuber
“One prompt gets me a structured board. But the tactics are my favorite. I run my YouTube scripts through them and my intros and retention got better. It's amazing.”

Justkay
YouTuber & Freelance Filmmaker
“I used to juggle five apps to plan a project. Now I describe what I am making and get boards, lists, and a schedule. All in one place.”

George
@fernwehchronicles
Scene blocking questions, answered.
How to block a scene, how blocking drives your schedule, and where a dedicated tool wins.
Start from what the characters want, not from what would look good. Draw an overhead of the space, ideally over the actual recce photo or floor plan, and mark where each character begins. Then work out where they move and why, tying each move to a beat change in the scene so it is motivated by the drama rather than by a wish for visual variety. Once the people are placed, put the camera: decide whether you are watching from inside the scene or observing it, since that is a tonal decision. Draw the line between your two principals and keep your camera positions on one side of it unless you are crossing deliberately. Finally, list the shots each camera position gives you and count the setups, because that number is what determines whether the scene fits in the time you have.
Storyflow is built for exactly this: you draw where the actors and the camera move over the real recce photo, list the coverage each position gives you, and keep the blocking beside your shot list and schedule. Your DP and crew can open the board and work on it remotely. For accurate lens and field-of-view simulation you still need Shot Designer or 3D previz: Storyflow does not do it.
Because blocking determines coverage and coverage is measured in setups, which are the real unit of shoot time. If you block a two-hander so the characters face each other across a table, you can often cover it with a wide and two singles from one side of the line. If you block the same scene with the characters moving apart into different parts of the room, they may never share a frame, and now you need separate coverage for each, plus the wides that establish the geography. That is potentially double the setups from a purely creative decision. Seeing the diagram in prep is how you find out you have made that trade before the first AD finds out for you.
Not during early access. Storyflow is paid-only right now, with plans starting at $9.99 a month, and a Free plan launches before the end of 2026. Anyone a paid member invites to a board joins free today, so your DP and first AD can view the blocking without paying. If you want a free option this minute, paper and a pencil remain completely adequate for blocking diagrams, and plenty of very good directors have never used anything else.
The line, or 180 degree rule, is the imaginary axis drawn between two characters in a scene. If you keep the camera on one side of that axis, characters consistently look toward the same side of frame and the geography stays legible. Cross it without preparing the audience and the two characters suddenly appear to be looking the same way, which reads as disorienting even to viewers who could not name why. Planning for it is straightforward on a diagram: draw the axis, place your camera positions, and check that they are all on one side. If you want to cross, plan a shot that carries the audience across, such as a camera move or a cut to a neutral position on the line itself.
Yes. There is a pen tool for sketching directly on the canvas, so you can draw the room, the actor positions, the movement arrows, and the camera setups by hand, which is how most directors think about staging anyway. The advantage over paper is that you can drop the location recce photo or a floor plan underneath and draw over it, so the blocking is designed against the real space rather than a remembered one, and you can share it without photographing a notebook.
No, and if that is what you need then a dedicated tool is the better choice. Storyflow does not calculate field of view, does not simulate focal lengths, and does not produce 3D previz or animated camera moves. Applications like Shot Designer or a proper previz package do those things and Storyflow does not attempt to. What Storyflow gives you is a fast, shareable diagram sitting next to the shot list, the schedule, and the continuity notes, which for most productions is the version of blocking planning that actually gets used.
No. The AI can break a scene into its beats, which is genuinely useful because moves usually belong at beat changes, and it can draft the coverage list once you have marked your camera positions. It cannot stage a scene, because staging depends on the specific room, the specific actors, and what the scene is actually about, none of which it has access to. This is one of the cases where the tedious part is worth delegating and the judgment is not.
Yes, and it is the single biggest improvement you can make to blocking done in advance. Drop your recce photos or a floor plan onto the canvas and draw the blocking over them. Staging invented in an imagined space frequently does not survive the real doorway, the pillar in the middle of the room, or the window you would have to shoot straight into. Blocking over a photograph catches all three while it is still cheap to change.
Yes. Share a view-only link and your DP, first AD, and gaffer can see the blocking and the coverage in a browser with no account. This tends to pay for itself immediately, because a large share of the first hour on set is a conversation about where things go that a shared diagram makes unnecessary. If you want your DP to contribute, invite them onto the board so the blocking and the lighting plan get designed against each other.
Yes, and it is the main structural reason to do this on a canvas rather than in a dedicated app. The blocking diagram can sit beside the shot list it generates, the schedule whose length it determines, and the continuity notes that record which side of the line you shot from last time. That adjacency is what turns blocking from an isolated drawing into a plan the rest of the shoot is built on.
Solve the staging before the crew is waiting.
Open a canvas, draw the space, and block the scene. No download.