How to Storyboard an Online Course (Step-by-Step, 2026)
A step-by-step guide to storyboarding an online course before you build it: map objectives to modules, lessons, and screens, write narration for the ear, design knowledge checks, and lock the whole structure on one board before you open an authoring tool.

Category
Course Creation
Author

Justkay
Documentary Filmmaker & Founder at Storyflow
Topics
2026-07-22
•
17 min read
•
Course Creation- how to storyboard an online course
- course storyboard
- elearning storyboard template
- instructional design storyboard
- map learning objectives to modules
- course storyboard columns
How do you storyboard an online course?
To storyboard an online course, structure the whole thing before you build any of it: write the learning objectives first, map them down to modules, then lessons, then the individual screens a learner will move through, and lay every screen out on one board with its on-screen content, its narration script, its visuals, and its knowledge check. A course storyboard is the blueprint of the finished course, screen by screen, and its entire purpose is to let you fix the structure while fixing is cheap, on a board, before you have recorded a minute of video or built a single interaction in an authoring tool. Get the storyboard right and the build becomes assembly; skip it and you rebuild the course two or three times inside a tool that makes every change expensive. This guide is how to build that storyboard, and it is honest about the line where storyboarding ends and the authoring tool and the learning management system begin. I want to be straight about where I am standing. I am a documentary filmmaker and the founder of Storyflow, not a career instructional designer, and I am not going to pretend otherwise. What I do know cold is storyboarding, the discipline of laying a visual story out shot by shot before you shoot it, and the longer I watched people build online courses the more obvious it became that a course is the same problem wearing different clothes. A film is a sequence of shots that has to carry a viewer somewhere. A course is a sequence of screens that has to carry a learner somewhere, from not being able to do a thing to being able to do it. The tools differ and the vocabulary differs, but the core move is identical: you design the sequence on paper before you commit it to an expensive medium, because the sequence is where a course succeeds or fails, and the sequence is almost free to change on a board and painfully slow to change once it is built. That is the whole argument of this guide. The people who make good courses are not the ones with the fanciest authoring tool. They are the ones who structured the course before they opened the tool, who knew exactly what each screen was for and how the learner got from the first to the last. This is how you build that structure, honestly, including the point where you close the board and open Articulate.

Full disclosure: Storyflow is our own product, so weigh its placement with the skepticism you would apply to any tool a company recommends on its own blog. We rank it first for one job, structuring and storyboarding the course on one AI-readable canvas, and we are explicit that the build and the hosting belong to an authoring tool like Articulate Storyline or Rise and a learning management system.
Quick Comparison
Where course creators actually storyboard the structure, and the one job each tool is best at.
| Tool | Best For | AI Features | Price |
|---|---|---|---|
| Storyflow | Structuring + storyboarding | Reads the whole board | $7.99 mo annual (free plan late 2026) |
| PowerPoint / Slides | Slide-based storyboard | Copilot / Gemini | Free / paid |
| Word / Docs | Column storyboard doc | Limited | Free / paid |
| Miro | Visual board + flow | Some AI | Free / paid |
| Storyline / Rise | Building + publishing | Limited | Paid (build stage) |
Why You Storyboard a Course Before You Build It
Watch a course go wrong and it is rarely the production values. The video is fine, the slides are clean, the voice is clear. What is broken is underneath: the course teaches things in the wrong order, spends ten minutes on something trivial and thirty seconds on the hard part, assesses a skill it never actually taught, or wanders through four modules without the learner ever being sure what they were supposed to walk away able to do. None of that is a recording problem. It is a structure problem, and structure is decided long before the camera turns on.
Here is why the storyboard has to come first, and it is a cost argument as much as a craft one. Every change is cheap on a board and expensive in a build. Moving a screen, cutting a redundant lesson, rewriting a narration line, deciding a quiz question actually belongs two screens earlier: on a storyboard these are a drag and a keystroke. Inside an authoring tool, the same changes mean re-recording voiceover, rebuilding an interaction, re-syncing audio to animation, re-exporting, and re-uploading to the learning management system. The cost of a structural change climbs the moment you leave the board, and it keeps climbing the further into production you get. A change that costs you a minute in the storyboard costs you an afternoon after you have recorded the video, which is exactly why courses that skip the storyboard get rebuilt so many times: the mistakes that a board would have caught for free instead get caught after they have been built, when catching them is expensive.
There is a second reason, and it matters just as much. A course is a sequence, and a sequence can only be judged whole. You cannot tell whether lesson three lands until you can see how it sits between lesson two and lesson four, whether the assessment matches the objective until you can hold the objective and the question side by side, whether the course drags until you can see the whole run of screens at once. Build the course lesson by lesson inside an authoring tool and you never see the whole until it is finished, at which point the flaws in the sequence are baked into a hundred built screens. Storyboard it first and the whole sequence is in front of you from the start, so you fix the shape of the course while it is still just boxes on a board. That is the same reason a filmmaker storyboards before shooting: not to draw pretty pictures, but to see the whole sequence early enough that the expensive medium only ever has to build the version that already works.
What a Course Storyboard Includes
A course storyboard is not a script and it is not a slide deck. It is a structured plan that holds every screen of the course and, for each screen, everything a builder needs to construct it. Stripped to its parts, it has two layers: the architecture that gives the course its shape, and the screen detail that fills that shape in.
The architecture is the spine. It runs top down through four levels, and every level exists to serve the one above it:
- Learning objectives. What the learner can do after the course that they could not do before, written as observable actions. Everything else exists to deliver these.
- Modules. The major sections of the course, each one owning a cluster of related objectives.
- Lessons. The teachable units inside a module, each one moving the learner toward an objective.
- Screens. The individual steps a learner clicks through inside a lesson, the atoms of the course and the real unit of the storyboard.
The screen detail is what turns that outline into a buildable storyboard. For each screen, the storyboard carries a set of columns, and this six-column layout is the working heart of the whole document:
- Screen. The screen number or identifier and where it sits, so the sequence is unambiguous.
- On-screen content. What the learner actually sees on the screen: the heading, the text, the bullet points, the diagram, the words on the slide.
- Narration script. The exact words spoken over the screen, written to be heard, not read.
- Visuals and media. The image, the video, the animation, the screen recording, or the graphic that carries the screen, with a note on what it shows.
- Interaction or assessment. What the learner does on this screen, if anything: a click-to-reveal, a drag-and-drop, a knowledge check, a quiz question, or nothing but "next."
- Notes. Everything a builder needs and nothing else fits: accessibility requirements, alt text, timing, branching logic, a source to cite, a flag that an asset still needs creating.
The storyboard works because these two layers lock together. The architecture guarantees the course teaches the right things in the right order, and the screen columns guarantee that when a builder sits down in the authoring tool, every screen is already fully specified. There is no inventing on the fly inside the expensive tool, because the thinking is all done on the board, where thinking is cheap.
Quick Picks: Where to Storyboard a Course
Best for storyboarding and structuring the whole course on one canvas: Storyflow. The surface where the objectives, the module and lesson map, and every screen with its columns live together on one infinite canvas, so you can see the entire course at once and drag screens into a working order, with AI that reads the whole board to help draft the structure and flag gaps. Plus is $7.99 per month billed annually. The honest limit: it structures and storyboards the course, it does not build or host it.
Best for a slide-based storyboard: PowerPoint or Google Slides. If you want each screen to be an actual slide with a notes field for narration, a deck is a familiar way to storyboard, and it hands off cleanly to Rise or Storyline. Free to paid tiers.
Best for a column storyboard document: Word or Google Docs. The classic instructional-design storyboard is a table with the six columns above, one row per screen. It is plain and it works, especially for a review sign-off. Free to paid tiers.
Best for building and publishing the finished course: Articulate Storyline or Rise, Adobe Captivate, or iSpring. When the storyboard is locked, these authoring tools build the real interactions, record the screens, and export a SCORM or xAPI package for a learning management system. This is the build stage, not the storyboard, and it is where you go after the board is done.
The honest split: storyboard and structure the course on a board, then build and publish it in an authoring tool on a learning management system. Try Storyflow to storyboard your course.
Comparison Table: Where to Storyboard an Online Course
| Tool | Best for | AI on the structure | Visual storyboarding | Free tier | Starting price |
|---|---|---|---|---|---|
Storyflow | Structuring and storyboarding the course | Reads the whole board | Yes, infinite canvas | Coming late 2026 (invited collaborators join free now) | $7.99/mo annual |
PowerPoint / Google Slides | Slide-based storyboard | Limited, Copilot or Gemini | Slide by slide | Yes | Free + paid |
Word / Google Docs | Column storyboard document | Limited | No | Yes | Free + paid |
Miro | Visual board and flow | Some AI | Yes | Yes, item cap | Free + paid |
Storyline / Rise / Captivate | Building and publishing (not storyboarding) | Limited | Slide or block | Trial only | Paid, build stage |
Pricing checked July 2026. Competitor prices move and are quoted per plan, so verify on each vendor's page. Storyflow is paid-only during early access, and its Free plan (which will run the whole structuring and storyboarding method) launches before the end of 2026; the paid tier adds the 200-plus Story Blueprints and unlimited file uploads. No single tool does the whole job, so most course creators storyboard and structure the course on a board and then build and publish it in an authoring tool on a learning management system.
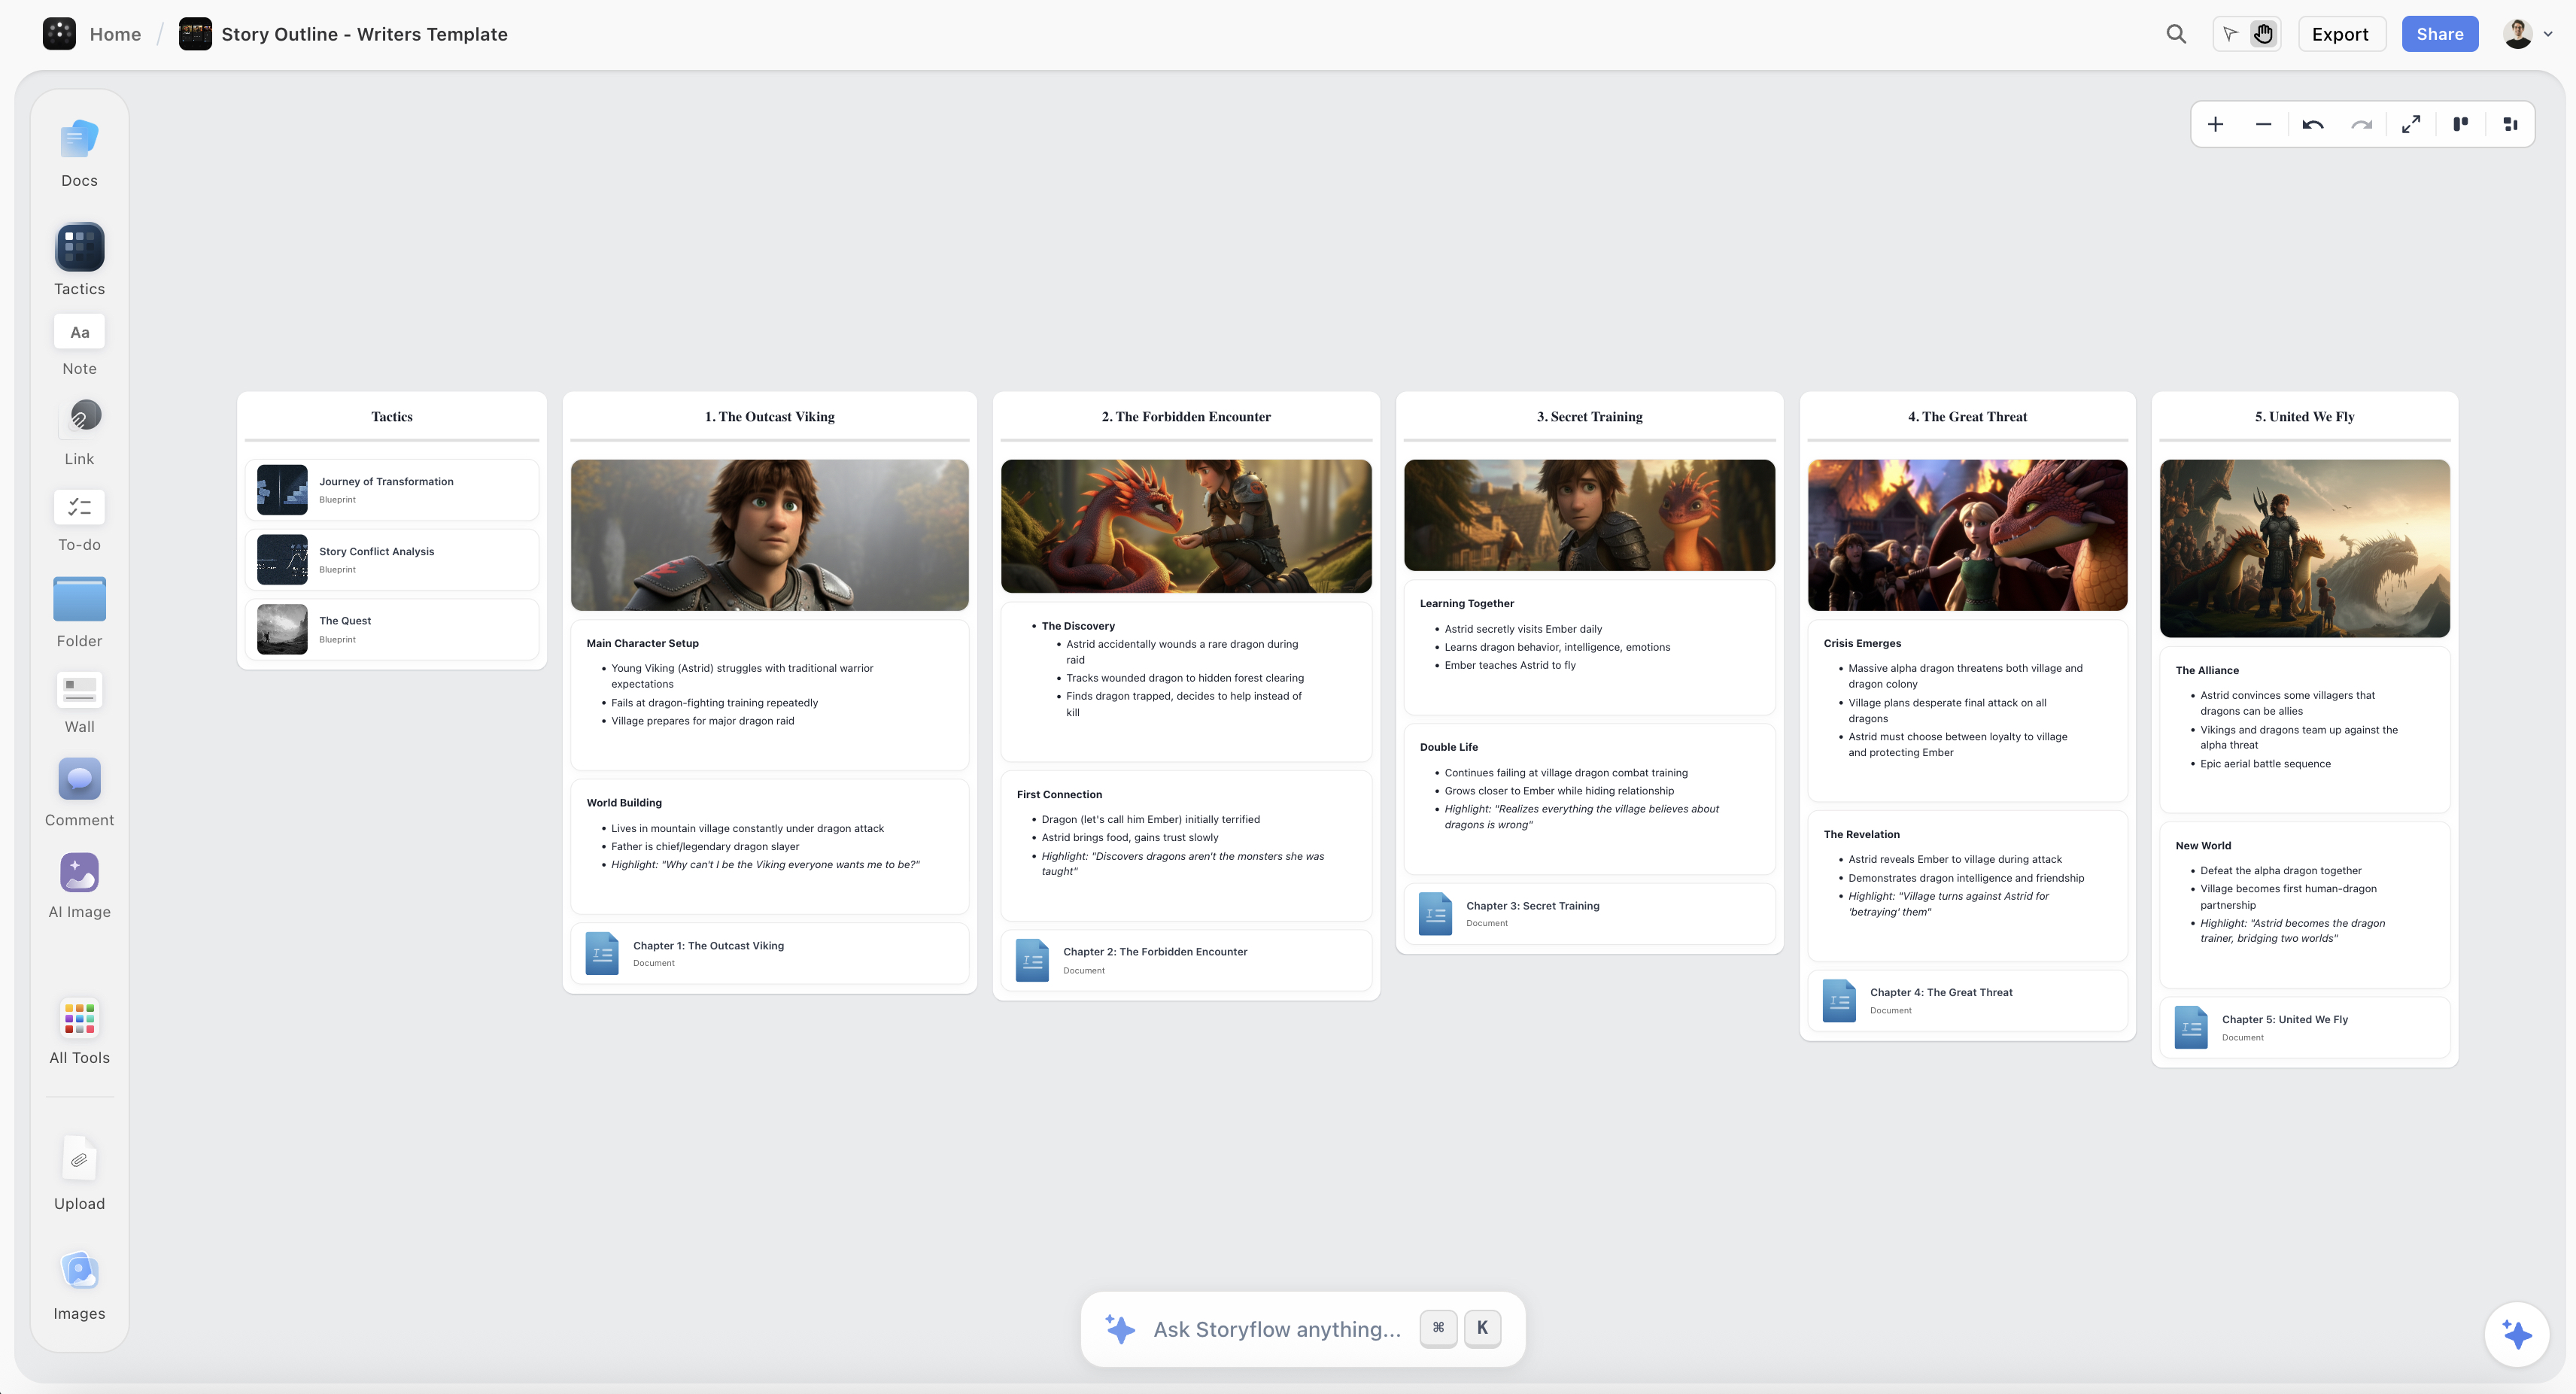
An online course storyboard on the Storyflow canvas, with objectives mapped to modules and lessons and every screen laid out with its content, narration, visuals, and knowledge check
Storyboard your whole course on one canvas
The objectives, the module and lesson map, and every screen with its narration and knowledge check live in one place, and the AI reads the whole board to draft the structure, so you open the authoring tool already knowing the course works.

How to Storyboard an Online Course, Step by Step
Here is the full method, from a topic you want to teach to a locked storyboard a builder can construct from. It assumes one course creator, instructional designer, or educator building a self-paced online course of a few modules. Scale it up for a large curriculum, but keep the order, because the value is in structuring and storyboarding the course before you build a single screen, not in opening an authoring tool and hoping the structure appears as you go.
Step 1: Write the learning objectives first
Before anything else, write down what the learner will be able to do when the course is over. Not what the course will "cover," which is a topic, but what the learner can do, which is an objective. "Understand pivot tables" is a topic and it is untestable; "build a pivot table that summarizes sales by region" is an objective and you can see whether a learner can do it. Write each objective as an observable action, the verb a learner performs, because that verb is what every later screen, every visual, and every assessment has to serve. Aim for a short list of real objectives rather than a long list of vague ones, and rank them, because when you run short on time you cut toward the objectives that matter most. This step feels slow and it is the most important one in the guide: a course built on clear objectives has a target for every screen, and a course built on a vague sense of "teaching the topic" wanders, because nothing tells it when a screen is off target. Write the objectives, keep them in front of you on the board, and measure everything that follows against them.
Step 2: Map objectives to modules and lessons
Now give the objectives a shape. Group related objectives into modules, the major sections of the course, and inside each module break the work into lessons, the teachable units that each move the learner toward an objective. This is the architecture of the course, and on a board it is a simple, powerful thing to see: the objectives across the top, the modules as columns beneath them, the lessons stacked inside each module, and lines showing which lesson serves which objective. The map does two jobs at once. It exposes objectives with no lesson behind them, a promise the course makes and never keeps, and it exposes lessons that serve no objective, content that is there out of habit and should be cut. Sequence the modules and lessons into a learning order, easy to hard, foundational to advanced, so each lesson can assume what came before. When the map reads clean, every objective has a path of lessons that delivers it and nothing is teaching toward nothing, and you have the skeleton the screens will hang on.
Step 3: Break each lesson into screens
With the lessons mapped, break each one into the individual screens a learner will actually click through, because the screen, not the lesson, is the true unit of the storyboard and of the built course. A lesson is not a wall of content; it is a short sequence of screens, each doing one job: a screen that sets up the problem, a screen that shows the concept, a screen that demonstrates it, a screen that checks understanding. Lay these screens out in order on the board so you can see the rhythm of the lesson, the beats a learner moves through. This is exactly the storyboarding move a filmmaker makes when they break a scene into shots, and it does the same work: it forces you to decide what each moment is for and to feel whether the sequence flows or lurches. Keep each screen to one idea, because a screen trying to teach three things is a screen a learner bounces off, and watch the count, because a lesson that needs twenty screens is usually two lessons wearing one name. Come out of this step with every lesson expanded into an ordered run of single-purpose screens, the raw sequence the storyboard details next.
Step 4: Storyboard the screens on one board, column by column
This is the heart of the method, and it is where a visual board earns its place. Take each screen and fill in its columns: the on-screen content the learner sees, the narration script spoken over it, the visuals and media that carry it, the interaction or assessment, and the notes a builder needs. Lay every screen out on one canvas so you can see the whole course at once, not one screen at a time through the keyhole of an authoring tool, because the sequence can only be judged whole. This is why I do it on one infinite canvas in Storyflow: every screen is a card on the board, the columns filled in, the whole course visible at a scale a slide sorter could never hold, and I can drag a screen to a new position and watch the flow change in real time. Because Storyflow's AI reads the entire board, plus up to 1 Tactic and 3 Documents I point it at, it can draft the on-screen text for a screen from the objective, suggest where a lesson needs a demonstration screen it is missing, and flag two screens teaching the same thing. You can even pull a frame from a reference video on YouTube or Vimeo straight onto the canvas to hold next to a screen as a visual note. Build the storyboard screen by screen with the columns filled, stand back, walk the course as a learner would, re-order, and keep going until the sequence reads as a course and not a pile of slides.
Step 5: Write the narration script for the ear
The narration column deserves its own pass, because writing for the ear is a different craft from writing for the eye and most course narration fails on exactly this point. A learner hears narration once, in a linear stream, with no ability to re-read a tangled sentence, so the script has to land the first time it is heard. Write short sentences. Use plain words. Put the important thing at the front of the sentence, not buried after three clauses. Read every line out loud, because your ear catches what your eye forgives, and a sentence that reads fine but is impossible to say is a sentence that will sound wrong in the recording. Crucially, do not narrate the on-screen text word for word, because a learner reading the same words they are hearing is a learner being bored in stereo; let the screen carry one thing and the voice carry another, so they add up instead of colliding. Keep the tone spoken and direct, the way you would explain the idea to one person across a table, because that is who is listening, one person, alone, with headphones on. The storyboard is the right place to get the narration right, on the page, before it is expensive to change, because rewriting a line on the board costs nothing and re-recording it after the video is cut costs an afternoon.
Step 6: Design the knowledge checks and assessments
A course that never checks understanding is a video, not a course, so design the knowledge checks and assessments into the storyboard rather than sprinkling quizzes on at the end. The rule that keeps assessment honest is simple: every assessment maps back to an objective, and every objective gets assessed. If an objective says the learner can build a pivot table, the assessment has to make them build or at least identify a correct one, not answer a trivia question about pivot tables, because assessing recall of a fact you never set as an objective tests the wrong thing and teaches the learner the course does not mean what it says. Place low-stakes knowledge checks through the lessons, small questions that let a learner confirm they got it before moving on, and place higher-stakes assessments at the end of a module where they measure a real objective. Write the question, the options, the correct answer, and the feedback for a wrong answer right there in the storyboard's interaction column, because the feedback is where learning actually happens and it is the part builders most often leave as an afterthought. When you can draw a line from every objective to an assessment and back, the course teaches what it tests and tests what it teaches, which is the whole game.
Step 7: Add the accessibility notes
Accessibility is not a pass you make at the end; it is a set of notes you carry in the storyboard so the course is built accessible the first time. In the notes column, write the things a builder needs to get right and will forget if you do not tell them. Every meaningful image needs alt text, so write the alt text in the storyboard rather than leaving a builder to invent it. Every video and every piece of narration needs captions and, ideally, a transcript, so flag it on the screens that carry media. Do not carry meaning by color alone, because a learner who cannot distinguish the colors loses the meaning, so note where a design leans on color and needs a label or a shape as well. Check that the language of your narration and on-screen text is plain enough to be understood by the widest range of learners, which helps everyone, not only those using assistive technology. Writing these notes into the storyboard costs a sentence per screen; retrofitting accessibility into a finished course costs a rebuild, and it is the kind of thing that is cheap to plan and expensive to bolt on, which is the theme of this entire guide.
Step 8: Review the flow, then hand off to the authoring tool
Before you build anything, walk the whole storyboard one more time as a learner would, from the first screen to the last, and check the things only the whole reveals. Does the course deliver every objective it promised? Does each lesson flow into the next, or does the learner hit a wall where a concept is used before it is taught? Does the pacing hold, or does a run of six talking-head screens with no interaction put the learner to sleep? Fix what the walkthrough exposes, because this is the last moment fixing is cheap. Then, and only then, hand the storyboard off to the build. Take it into an authoring tool, Articulate Storyline or Rise for slide and block-based courses, Adobe Captivate or iSpring for other needs, and build the real screens: record the narration from your script, create the interactions from your notes, place the media, and export a SCORM or xAPI package for your learning management system. The build is now assembly, because every decision was made on the board, and the authoring tool is doing what it is good at, constructing the course, instead of being the place you try to figure out what the course should be. That is the payoff of the storyboard: the expensive tool only ever builds the version that already works.
Where AI Helps (and Where the Instructional Design Is Yours)
AI is genuinely useful for storyboarding a course, but for specific jobs, and it is worth being precise so you do not hand it the parts that have to be yours.
Where it helps. An AI that reads your objectives and your screen board can draft on-screen text from an objective, suggest a knowledge-check question for a lesson, propose alt text for an image, flag an objective with no assessment behind it, and catch two screens teaching the same thing. Because Storyflow's AI reads your full board, plus up to 1 Tactic and 3 Documents you point it at, it works from your actual course structure rather than generic prompts, so the draft it gives back fits the course you are actually building. It is a fast way to get a rough storyboard onto the board so you have something concrete to react to, which is almost always easier than starting from a blank canvas.
Where it does not. AI does not know your learners, has not taught the thing you are teaching, and cannot judge whether a sequence actually lands for a real human sitting alone with headphones on. It will happily generate a plausible course that teaches in the wrong order for your audience, assesses recall when the objective demanded a skill, or pads a lesson that should be cut. The instructional judgment, deciding what the course is for, what order a real learner needs, and whether an assessment honestly measures an objective, is yours, and Storyflow's AI image generation, on the Pro and Max tiers, is the wrong tool for a course storyboard, because a storyboard is about structure and specification, not generated art. Use AI to draft the storyboard and catch the gaps, and bring your own judgment to the decisions that decide whether the course works. AI drafts the structure. You decide what the course teaches.
Common Course Storyboarding Mistakes
- Building before storyboarding. Opening an authoring tool with no storyboard means figuring out the course inside the most expensive tool to change. Structure it on a board first.
- Topics instead of objectives. "Cover pivot tables" is untestable and unfocusable. Write what the learner can do, as an observable action, and aim every screen at it.
- Lessons that serve no objective. Content that is there out of habit pads the course and dilutes it. If a lesson maps to no objective, cut it or add the objective.
- Assessing what you never taught. A quiz question about a fact that was never an objective tests the wrong thing. Map every assessment back to an objective.
- Narration that reads the screen aloud. A learner hearing the exact words they are reading is bored in stereo. Let the voice and the screen each carry a different part.
- Writing narration for the eye. Long, clause-heavy sentences that read fine are impossible to follow by ear. Write short, read it out loud, fix what you cannot say.
- Accessibility as an afterthought. Retrofitting alt text, captions, and non-color meaning into a finished course is a rebuild. Carry the notes in the storyboard from the start.
- No whole-course walkthrough. Building lesson by lesson means you never see the sequence until it is baked. Walk the whole storyboard as a learner before you build.
- Trying to build the course on the storyboard, or storyboard it in the authoring tool. Storyboard on a board, build in the authoring tool. Each does one job well.
The Bottom Line
Storyboarding an online course is not busywork you do before the real work. It is the work: deciding the objectives, mapping them to modules, lessons, and screens, and laying out every screen with its content, its narration, its visuals, and its knowledge check, all on a board where the whole course is visible and every change is cheap. Get that right and the build is assembly, because every decision was already made where making it was almost free. Skip it and you make those decisions inside an authoring tool, one screen at a time, where every change you missed costs a re-record and a rebuild.
The honest boundary holds. Storyboard and structure the course on a board, because a course is a sequence and a sequence has to be seen whole, with AI that reads the board to draft the structure and catch the gaps. Build and publish the course in an authoring tool on a learning management system, because that is production and Storyline, Rise, Captivate, and iSpring are built for it. I came to course design from filmmaking, not from a career in instructional design, and the one thing the film work taught me transfers cleanly: design the sequence before you commit it to an expensive medium, because the sequence is where it works or fails, and it is free to fix on the board and painful to fix anywhere else.
If your next course is still a topic and a hope that the structure will sort itself out as you build, storyboard the whole thing on one canvas in Storyflow and open the authoring tool already knowing the course works.
FAQ: Course Storyboarding
How do you storyboard an online course?
Structure the whole course before you build any of it. Write the learning objectives as observable actions, map them down to modules and then lessons, and break each lesson into the individual screens a learner clicks through. Lay every screen on one board and fill in its columns: the on-screen content, the narration script written for the ear, the visuals and media, the interaction or assessment, and the notes including accessibility. Design the knowledge checks so every assessment maps back to an objective, walk the whole sequence as a learner, and only then hand the storyboard to an authoring tool like Articulate Storyline or Rise to build and publish on a learning management system. The point of storyboarding first is that structure is almost free to change on a board and expensive to change once the course is built.
What is a course storyboard?
A course storyboard is the screen-by-screen blueprint of an online course, built before the course itself. It holds two layers: the architecture, meaning the objectives mapped down to modules, lessons, and screens, and the screen detail, meaning for each screen the on-screen content, the narration script, the visuals, the interaction or assessment, and the notes. It is not a script and it is not a slide deck; it is the complete specification a builder works from, so that when someone sits down in the authoring tool, every screen is already decided. Its whole reason for existing is to let you get the structure of the course right while getting it right is cheap, on a board, instead of after you have recorded video and built interactions, when every change is slow.
What should a course storyboard include?
At the architecture level it includes the learning objectives, the modules, the lessons, and the screens, mapped so every objective has lessons that deliver it. At the screen level it includes six columns for every screen: the screen identifier and its place in the sequence, the on-screen content the learner sees, the narration script spoken over it, the visuals and media that carry it, the interaction or assessment the learner does, and the notes a builder needs, which is where accessibility requirements like alt text and captions live. Together these mean the storyboard both guarantees the course teaches the right things in the right order and gives a builder everything needed to construct each screen without inventing on the fly inside the expensive tool.
How do you map learning objectives to a course structure?
Start from the objectives, written as observable actions the learner can perform, then work downward. Group related objectives into modules, the major sections, and inside each module break the work into lessons that each move the learner toward an objective. On a board, put the objectives across the top, the modules and lessons beneath, and draw lines from lessons to the objectives they serve. This map immediately exposes two failures: objectives with no lesson behind them, promises the course does not keep, and lessons that serve no objective, content that should be cut. Sequence the modules and lessons from foundational to advanced so each can assume what came before, and you have a structure where every objective has a clear path of lessons that delivers it.
What is the best tool to storyboard an online course?
Most people use one tool to storyboard and structure the course and a different tool to build it, because those are different jobs. For the storyboard, a visual board wins, because a course is a sequence you have to judge whole, and Storyflow is strongest here since it puts the objectives, the module and lesson map, and every screen with its columns on one infinite canvas so you can see the entire course at once and drag screens into order, with AI that reads the whole board to draft structure and flag gaps. A slide deck like PowerPoint or a table in Google Docs also work as storyboards, especially for sign-off. For the build, you move to an authoring tool like Articulate Storyline or Rise, Adobe Captivate, or iSpring, and publish to a learning management system. Storyboard on the board, build in the authoring tool, and do not ask either to do the other's job.
Can AI help storyboard a course?
Yes, for drafting and gap-checking, not for the instructional judgment. Once your objectives and screens are on a board, AI can draft on-screen text from an objective, suggest a knowledge-check question, propose alt text, and flag an objective with no assessment or two screens teaching the same thing. Because Storyflow's AI reads your full board, plus up to 1 Tactic and 3 Documents you point it at, it works from your actual course structure rather than generic prompts. What it cannot do is know your learners, judge whether a sequence lands for a real person, or decide what the course is actually for. Use it to get a rough storyboard down fast so you have something to react to, and keep the decisions that make a course work, the order, the objectives, and whether an assessment is honest, in your own hands.
Is Storyflow free for storyboarding a course?
Not during early access. Storyflow's Free plan, which launches before the end of 2026, will include unlimited objects and boards, unlimited collaboration, basic AI, and 20 file uploads, which covers storyboarding a real course: the objectives, the module and lesson map, and every screen with its columns laid out on one canvas. Paid tiers start at Plus for $7.99 per month billed annually, which is $9.99 monthly, and add the 200-plus Story Blueprints and unlimited file uploads, with Pro at $14 per month billed annually, $19 monthly, and Max at $39 per month billed annually, $49 monthly, for more AI and, on Pro and Max, AI image generation, which a course storyboard does not need since it is about structure, not generated art. There is no separate Team plan; Max is the team tier. Once it launches, the Free plan will genuinely run the whole storyboarding method, and you'll still build and publish the course in an authoring tool on a learning management system.
Do I still need an authoring tool like Articulate Storyline?
Yes, and that is the honest boundary. Storyflow storyboards and structures the course; it does not build or host it. The authoring tools, Articulate Storyline and Rise, Adobe Captivate, iSpring, are where you construct the real interactions, record and sync the screens, and export a SCORM or xAPI package, and a learning management system is where you deliver it to learners and track completion. Storyflow is the layer before all of that, the place you decide the objectives, the structure, and the screen-by-screen storyboard so the build is assembly instead of guesswork. Used for storyboarding, which is what it is built for, it is where a course gets its shape; used as an authoring tool or a learning management system, it is the wrong tool, and this guide is honest about that split because pretending one tool does both jobs helps no one.
Table of Contents
- Why You Storyboard a Course Before You Build It
- What a Course Storyboard Includes
- Quick Picks: Where to Storyboard a Course
- Comparison Table: Where to Storyboard an Online Course
- How to Storyboard an Online Course, Step by Step
- Where AI Helps (and Where the Instructional Design Is Yours)
- Common Course Storyboarding Mistakes
- The Bottom Line
- Author
- FAQ: Course Storyboarding
- Related Reading
Templates to check out for this topic


Filmmaking templates you can use in Storyflow
Skip the blank canvas. Open one of these filmmaking boards in Storyflow and the AI builds on the structure that is already there, from research through the shot list.


See Storyflow in Action
A visual AI workspace where every feature lives inside one canvas. No tab-switching, no context lost.
Build your entire board from a single message
Type what you need in the AI chat at the bottom of your canvas. The AI adds cards, headings, and structure directly onto your board.
Use expert frameworks as AI context
Type @ in the AI chat and choose any Tactic. The AI tailors every response to that framework instead of giving generic advice.
Turn your board into a mind map in seconds
Ask the AI to restructure your canvas as a mindmap. It connects your ideas into a visual hierarchy so you can see how everything relates.
Why Storyflow Exists
Storyflow actually began as a personal tool while working on creative and research projects.
We kept running into the same problem: ideas were scattered everywhere: notes, documents, and whiteboards.
Nothing helped us see how everything connected.
So we started building a workspace designed around how ideas actually grow.
→ Read how Storyflow was createdJustkay
Documentary Filmmaker & Founder at Storyflow
Published: 2026-07-22
Extremely simple, seriously capable


See how easy it is to get started
Watch a real project come together, from a blank board to a finished plan, clicked through step by step.
Start creating with AI and become more productive
Transform your creative workflow with AI-powered tools. Generate ideas, create content, and boost your productivity in minutes instead of hours.